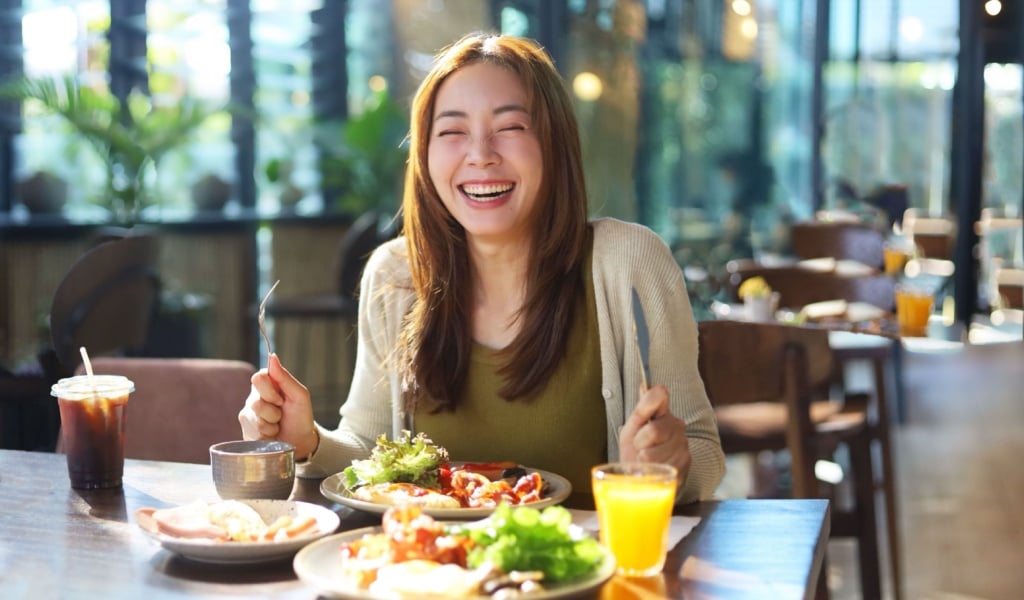
Nowadays, literally everyone takes a picture of their food before taking a bite. I mean, walk into a restaurant and the only odd one out would be the guy who doesn’t pull his phone out for a picture the minute his food arrives!
And why not capture the beauty of the food that gives us sustenance? Why not celebrate the hard work that’s gone into not just creating the delicious food in front of you, but also the care and effort taken to presenting it in such a beautiful manner. And let’s not forget giving all our friends the #foodenvy when they see it!
You might have scrolled down your instagram feed, only to wish you could take such beautiful photographs. Because some people can make even the least appetizing food look amazing, and then there are others…
Fret not, because we’ve gathered a list of tips and tricks that anyone can use to bring their food photography skills up a notch, and you won’t need any special equipment other than your smartphone!
Let’s get started:
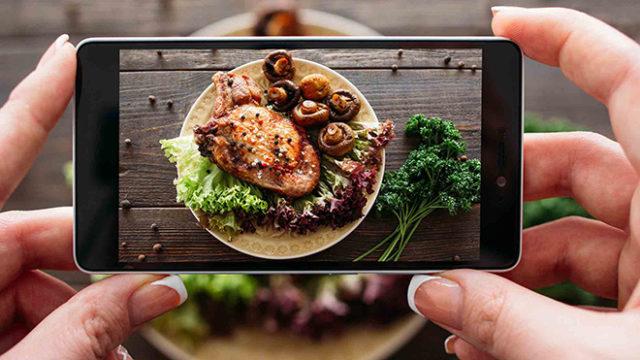
1. Lighting is Everything
Make this your mantra: lighting is everything. And the best kind of light that you can get is the natural kind. That’s right, no fancy lighting equipment needed when you’ve got the sun! Shoot your food photos near a window, but make sure there isn’t too much lighting. If there’s too much sunlight, move your food away from the window. You don’t have to stick to a single location either. Different places in your home will have different levels of lighting throughout the day, so don’t be afraid to switch it up!
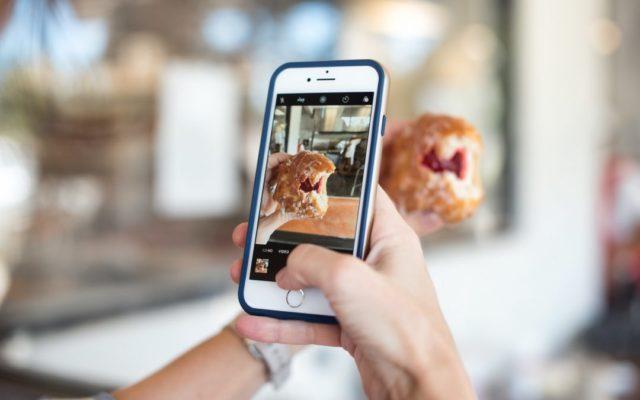
2. Pick the Right Angle
Not all food looks great from all angles (kind of like the humans that create it, amiright?). So, play around with a few different angles until you find the right one. Two of the most flattering angles for food are straight above or from the front. The former is suitable for food that has lots of toppings and not a lot of height, and the latter for food that is tall and has interest down the sides. Sometimes, shooting at a diagonal can also come in handy as well.
3. Keep it Simple
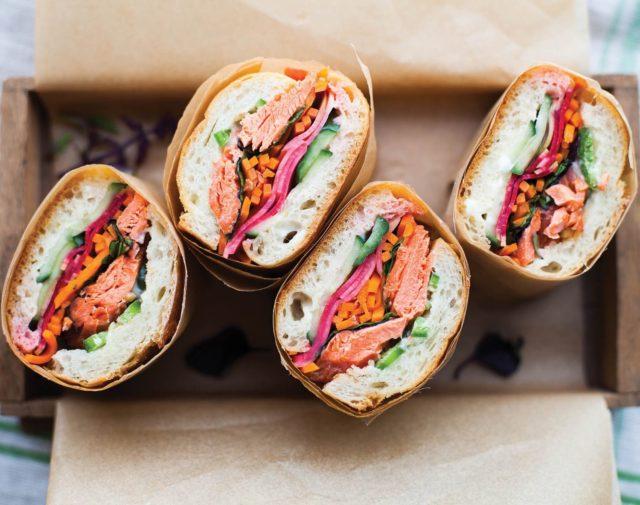
When it comes to food photography, less is always more. Having too many things in one picture will take the focus away from the actual food, and make it look less attractive. Food is naturally colorful and chaotic in itself, having a simple background will help make these elements pop. Use a white plate for maximum impact. But if your food is light/white colored, maybe a black plate would be better.
4. Keep it Neat
It’s better to have your food neatly arranged. Spills and messy food can look unappetizing. Clean up your plate before taking the photo. Of course, a few carefully placed “spills” can look good, but they need to be made on purpose to compliment the picture.
You should also make your picture look as symmetrical as possible. This is especially important if you plan on shooting it from above. A clean, neat and symmetrical plate looks more professional, and therefore makes for a better food photo.
5. Choose the Right Backdrop
Choosing the right backdrop is also pretty important to get the perfect food photo. Make sure it doesn’t take away from the food, but actually complements it. Wooden tones are always a winner, but light colored table cloth and napkins can also be really good. Never pick a backdrop the same color as your food, or the entire picture will just look the same and the food will be lost.
6. Add a Bit of Interest
Some food isn’t exactly photogenic, that’s the simple truth. But there are a few things you can do that will make it pop, without taking away from it. You should always add things to the picture only if they complement the actual food.
If you’ve got a bowl of plain colored soup, add some garnish (green herbs/white cream/golden brown croutons/other). Just be sure not to overdo it so much that the food gets hidden underneath all that garnish. You could also add a few of the ingredients used to make the food off to the side, which also makes the photo really interesting by bringing a sort of before/after vibe to it. Other things like crushed cookies or a few of the sprinkled herbs lying outside the plate can also add a great bit of interest to the image.
7. Zoom Zoom
Use the zoom feature of your phone to your advantage. Close up shots of food, especially those that are gooey and decadent like chocolate, cheese, etc. can look great. But when it comes to closeup pictures, there’s a risk of overdoing it so that you’re not even able to tell what the food actually is, so use the zoom wisely.
8. Theme It
It makes for a great food photo if the props used actually fit into the theme of the food. This could be in terms of similar tones, so you could use the same colored cutlery. Otherwise you could theme it according to the cuisine of the dish you’re capturing.
A bowl of Chinese noodles could be complemented with chopsticks instead of a spoon or fork, and maybe a little Chinese figurine in the background? Get creative with it and have fun! You can get a lot of interesting bits and bobs at thrift stores and bargain shops.
9. Shaky Cam
Shaky Cam is the biggest enemy of any mobile phone food photographer. It’s incredibly important to keep your hands steady while taking the picture. If you’re hands are especially shaky, use a mobile tripod. You can make one at home, or even improvise with whatever you have to create a makeshift one, like a stack of books. Remember the camera lens are actually pretty small, so its only important that they are perfectly aligned. You can also increase the shutter speed of your mobile camera or use the multiple shots option if your phone has it.
10. Use Your Phone’s Camera Features
The smartphones that we get today come with a ton of features that most of us never make use of. These settings are there so we can get the best picture possible. You can adjust the mode in which to shoot, the quality of the picture, white balance, background blur, and even filters that make the picture look more natural. Play around with your phone camera and discover the best settings for you.
Your phone most probably also has editing features that you can use to sharpen the image after you’ve taken it. Or you can download a good photo editing app from the play store and use it to your advantage.